|
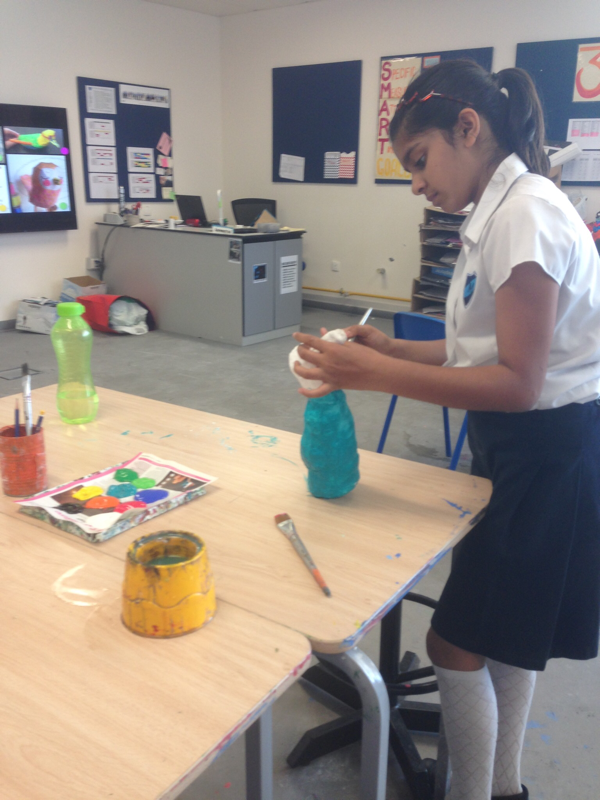
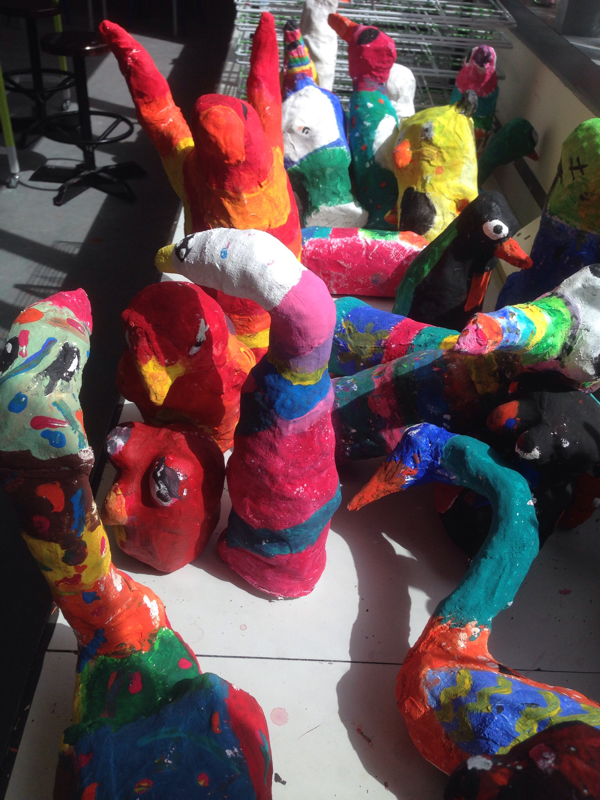
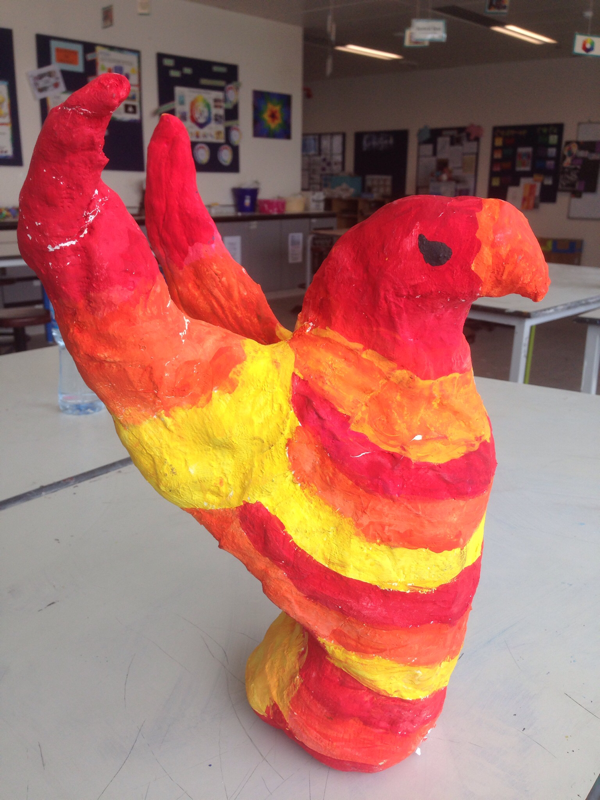
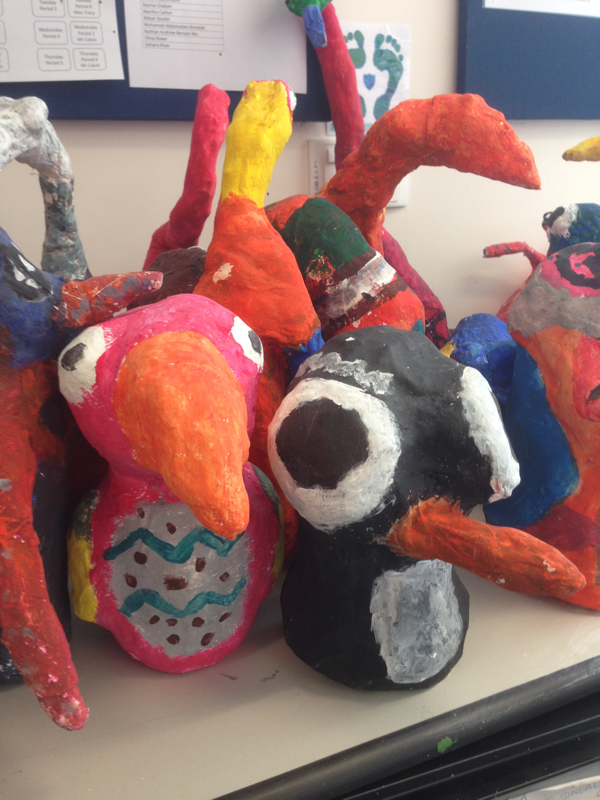
this week we are using mod roc (plaster strips) to create fantasy bird...let's see what happens...I'll be sure to post photos as we go updates from the week. Progress is going well as pupils begin to paint their birds.
Our upcoming project to start off term 3. Check it out below...
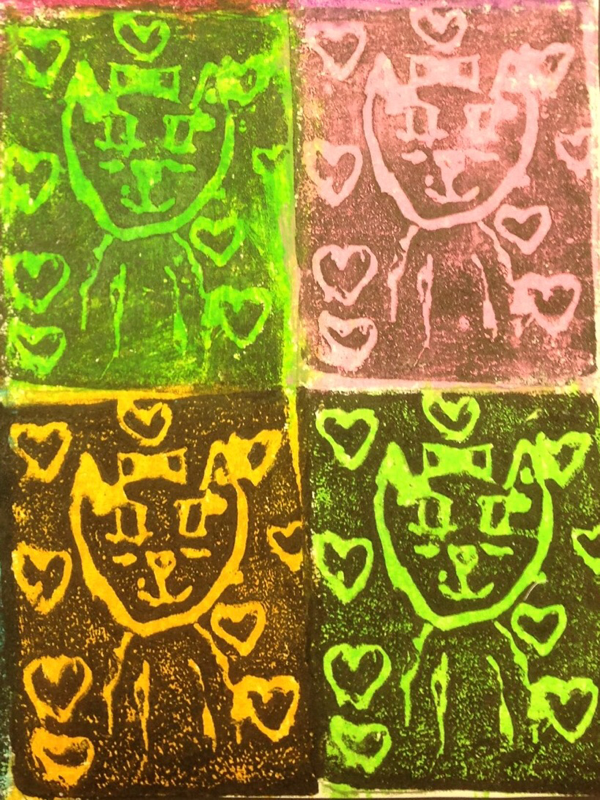
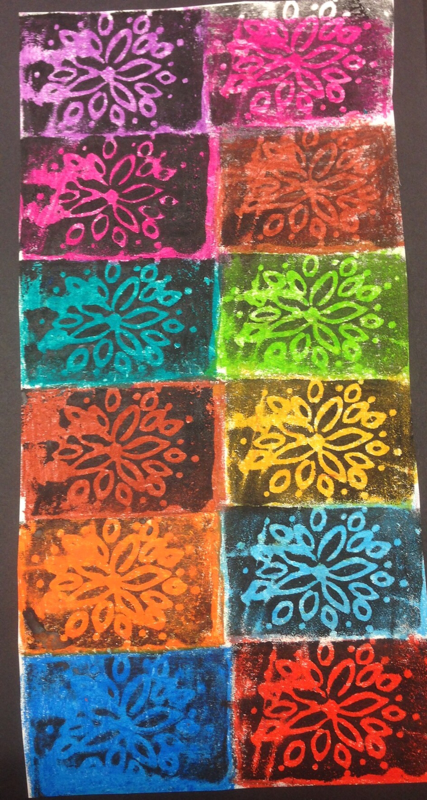
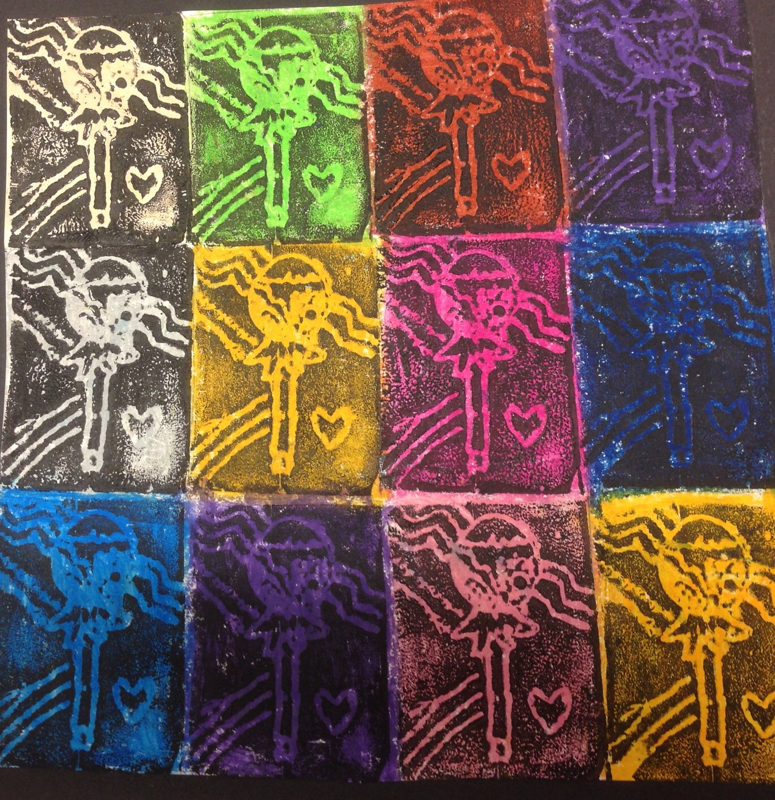
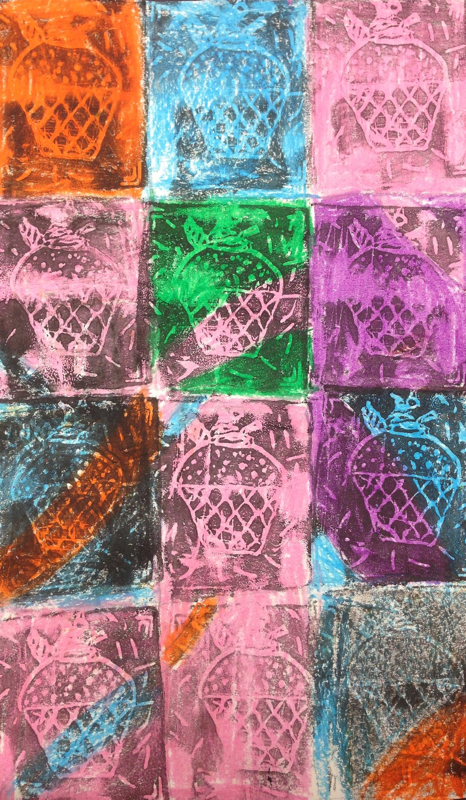
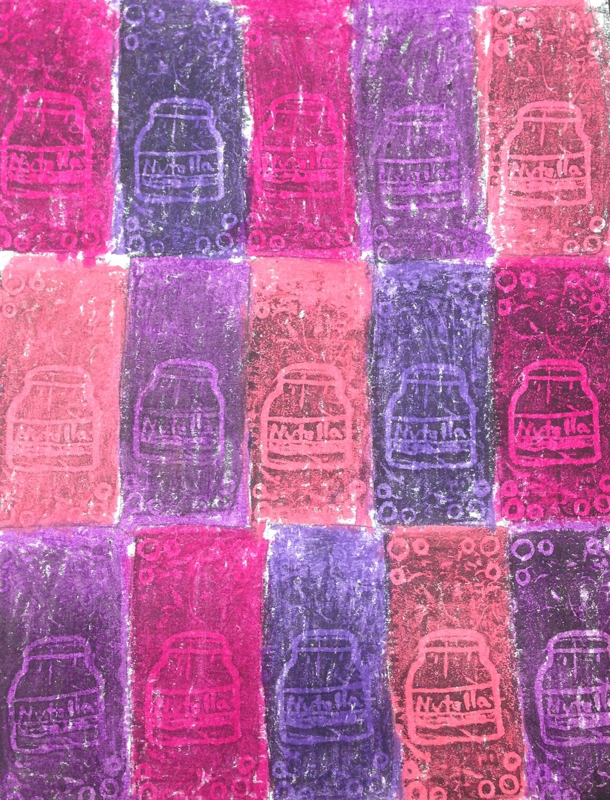
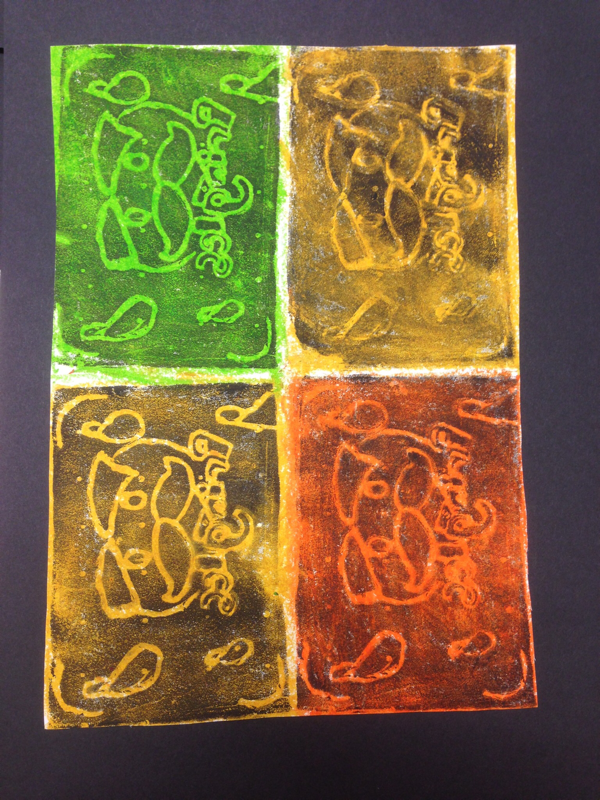
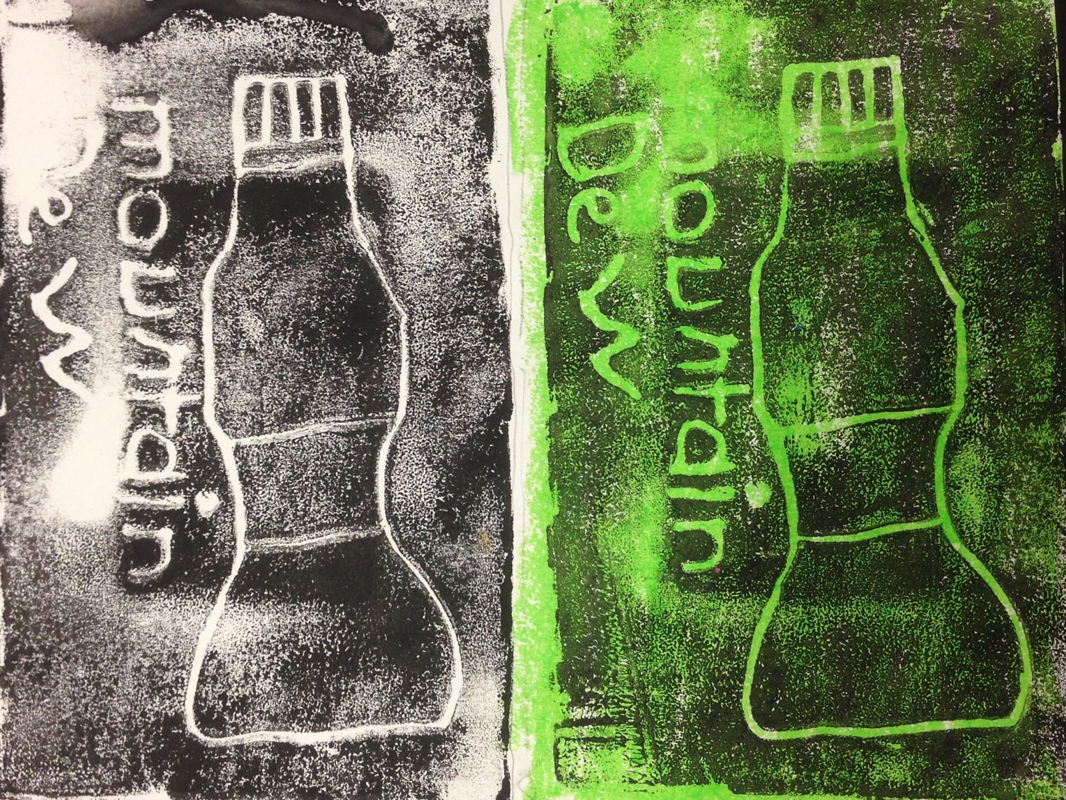
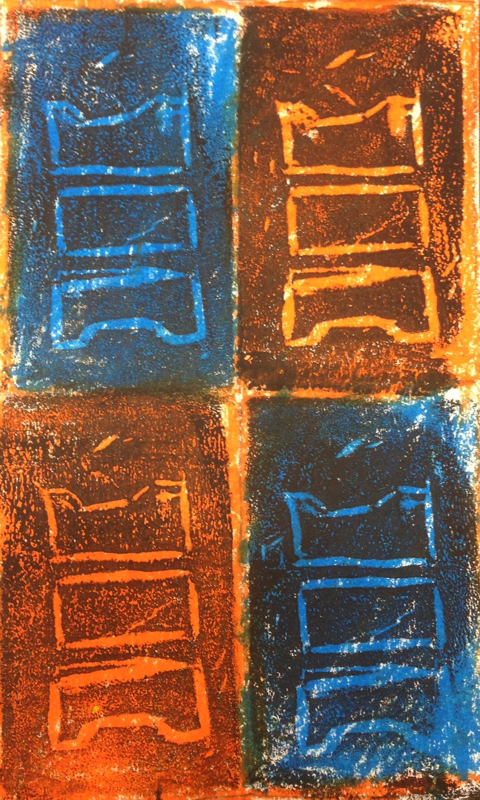
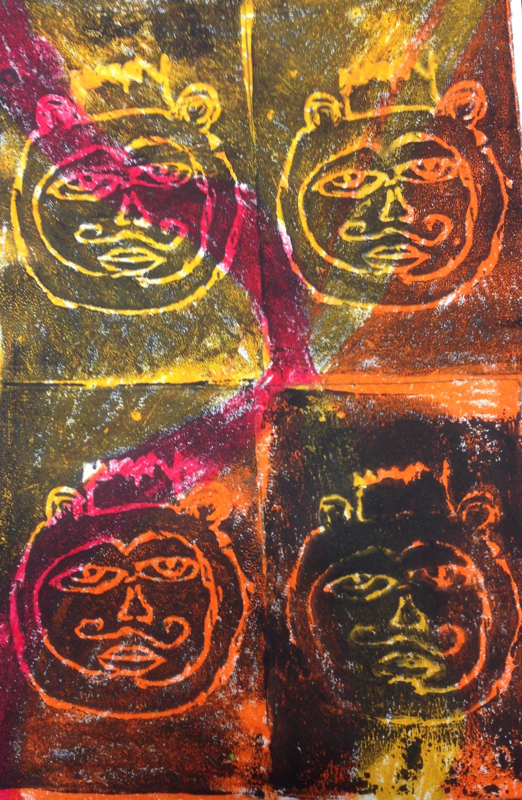
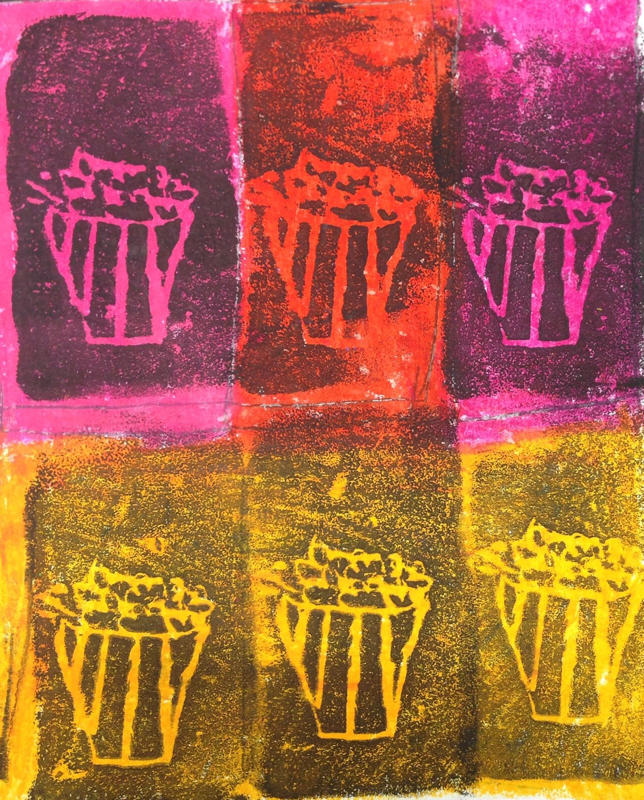
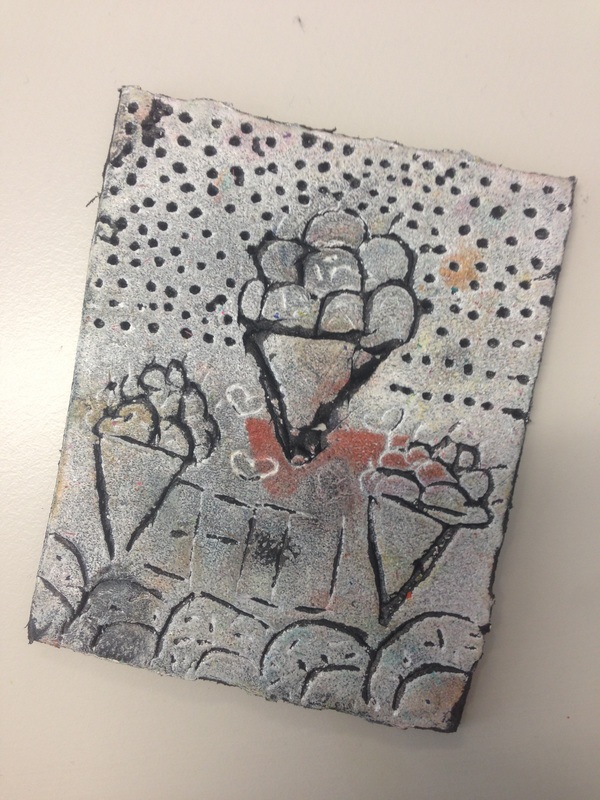
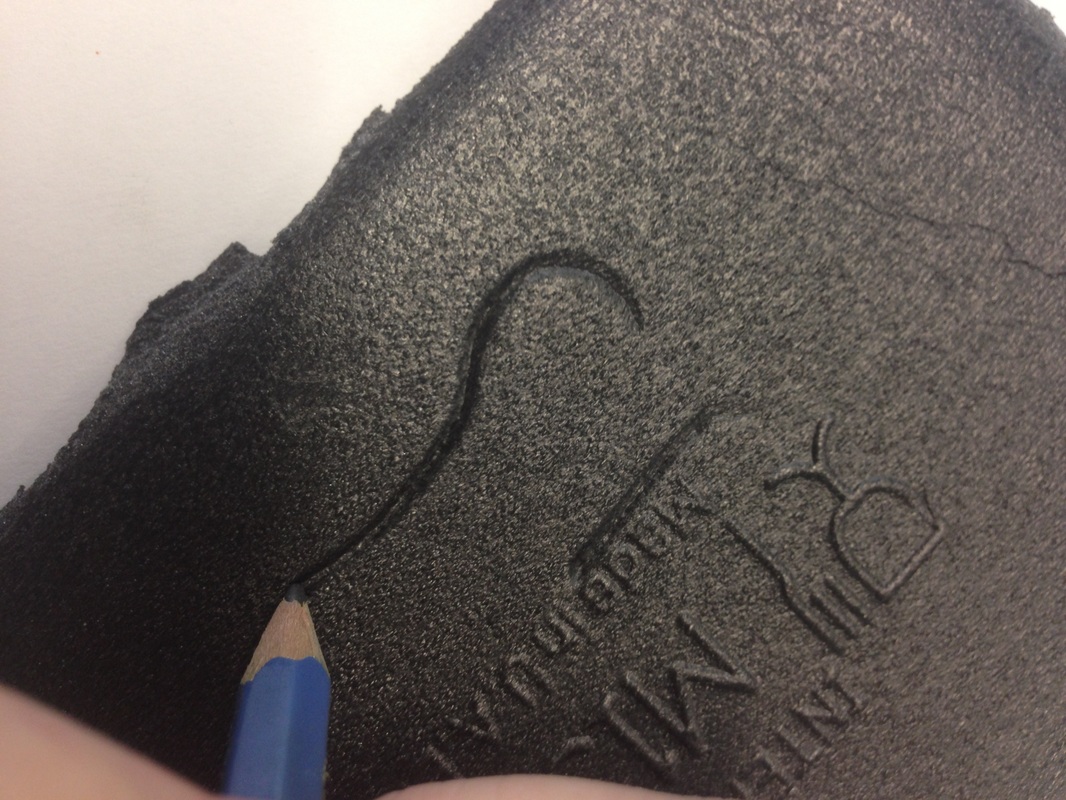
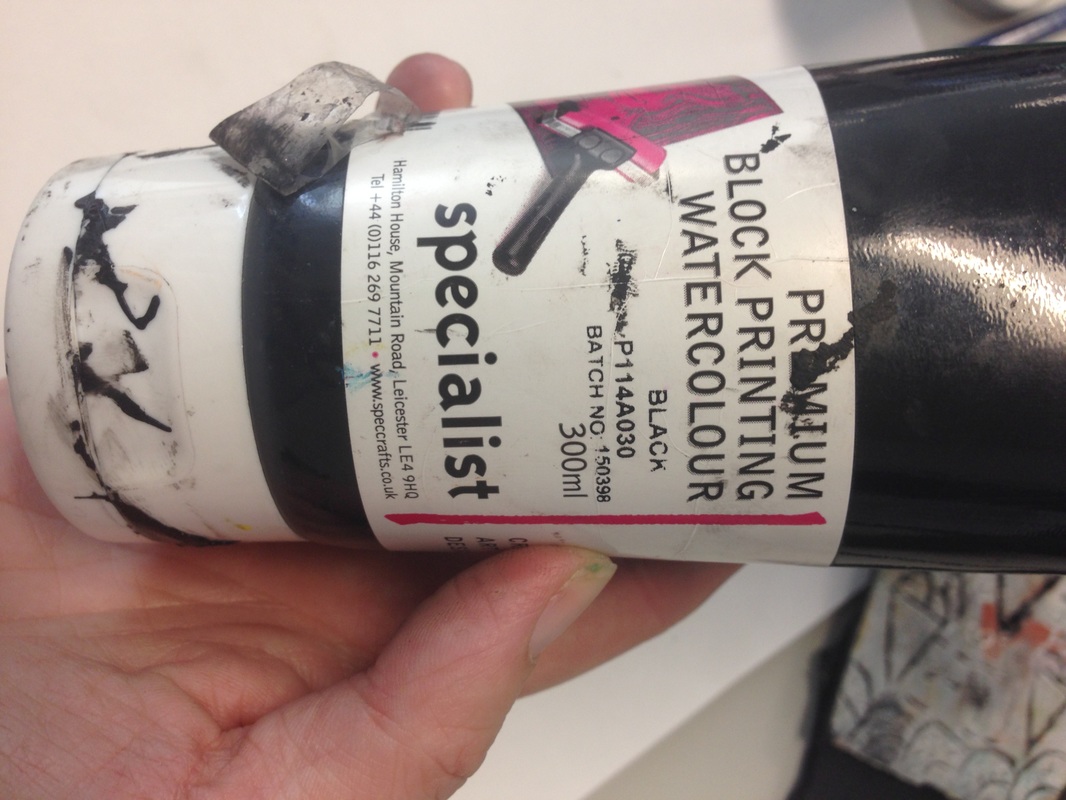
so the proof is in the pudding, and the kids have created some great pudding! See below. We adapted the technique from the video slightly, using ink and brayers (rollers) to roll the ink and print. This proved way more successful than simply painting.
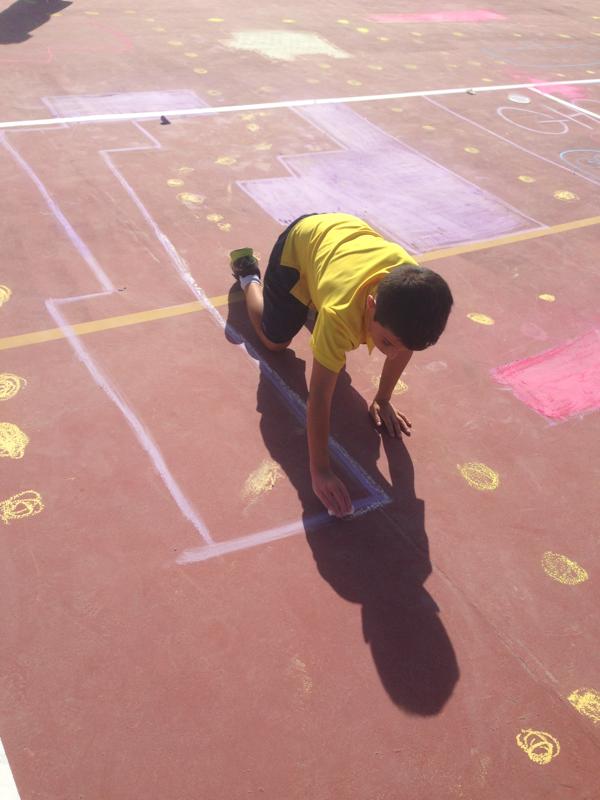
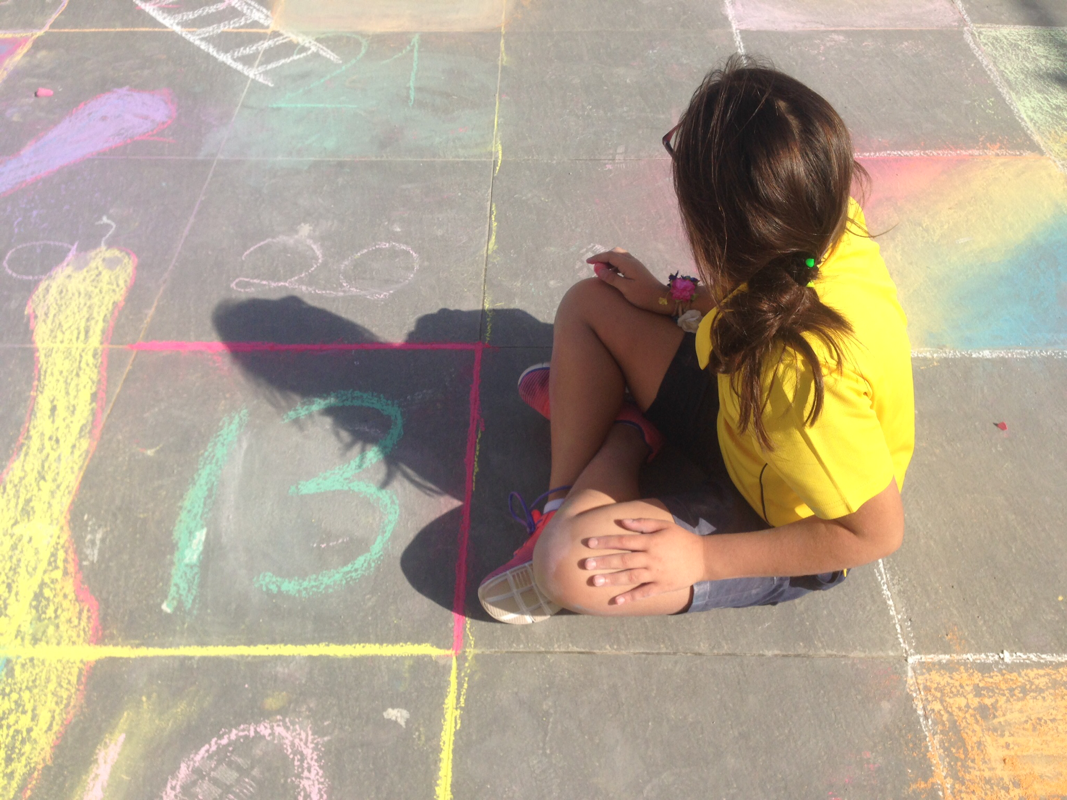
The Grade 8's helped draw out all of our games for our upper high school pupils games day. They worked together to create checkers and snakes and ladders boards and a pax man course. The end result looked really good.
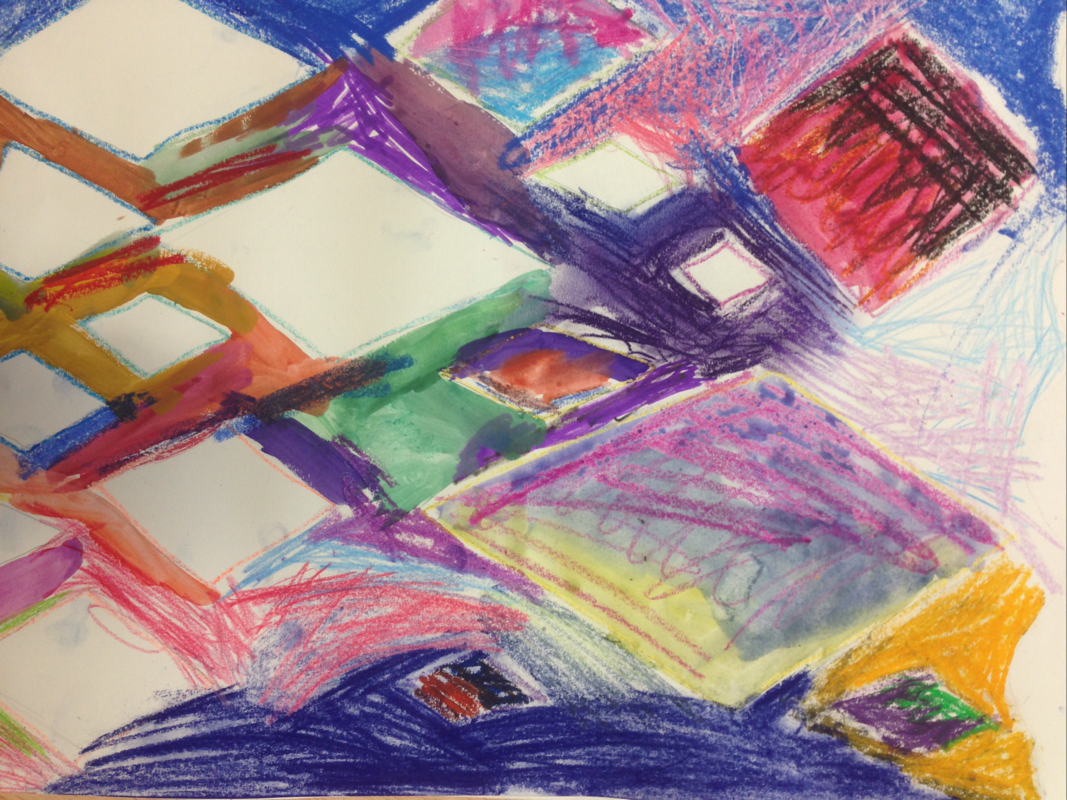
So my plan for this coming week is to progress with our mixed media experiments. Adding elements of formal tonal drawing into the mix. Let's see how it goes...
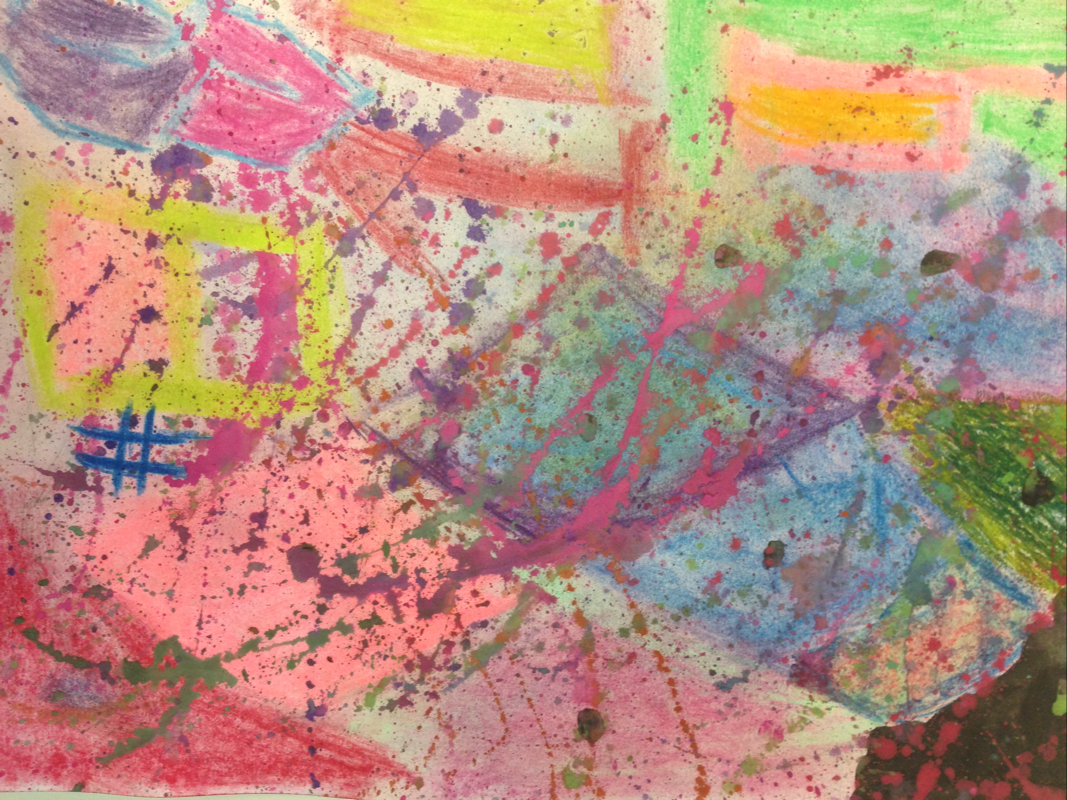
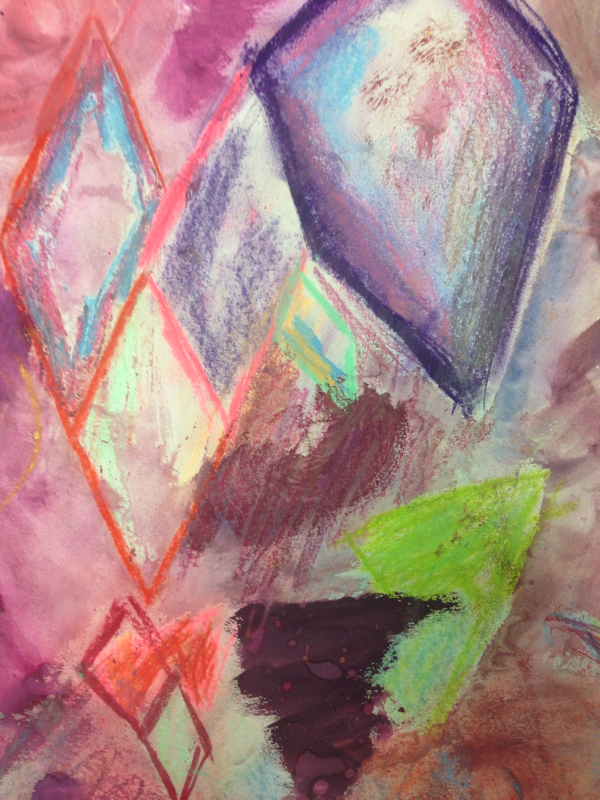
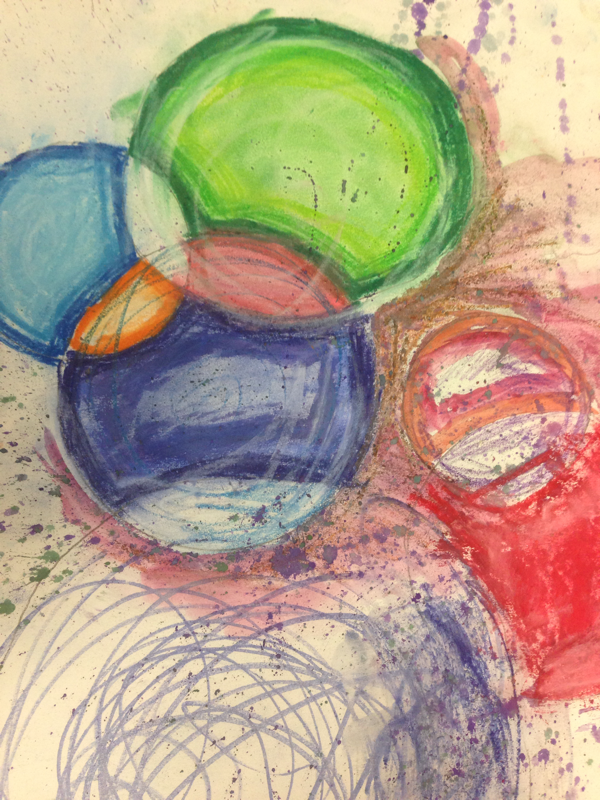
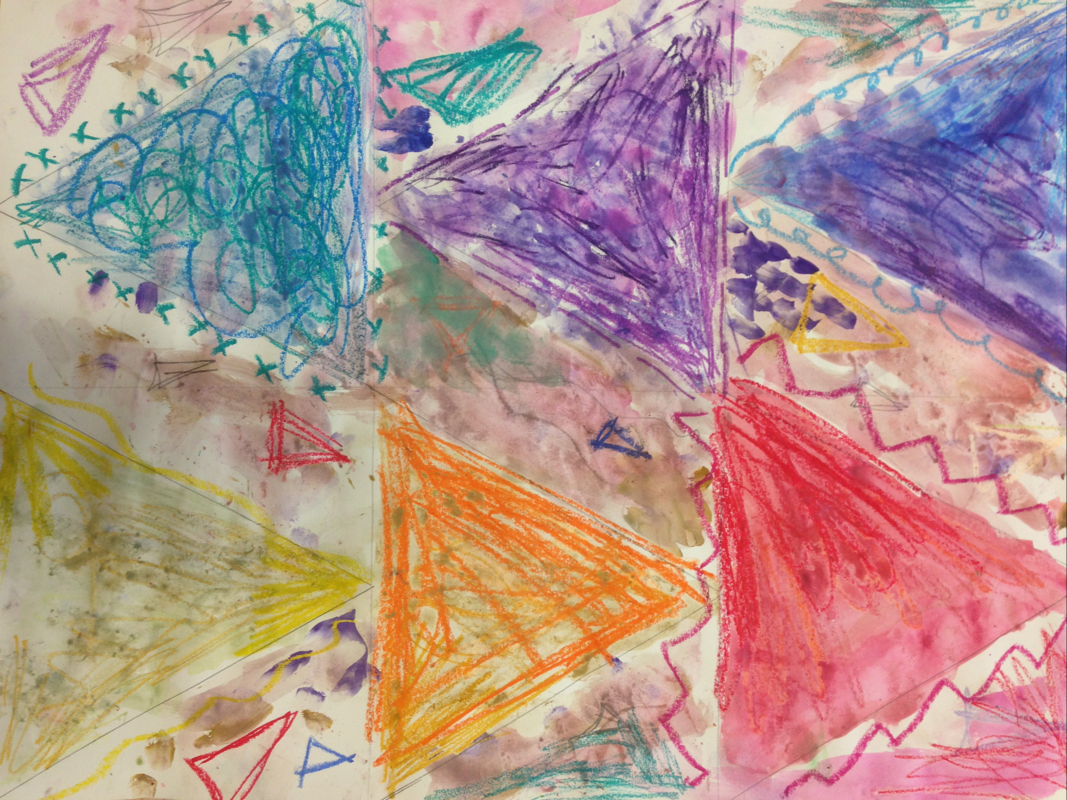
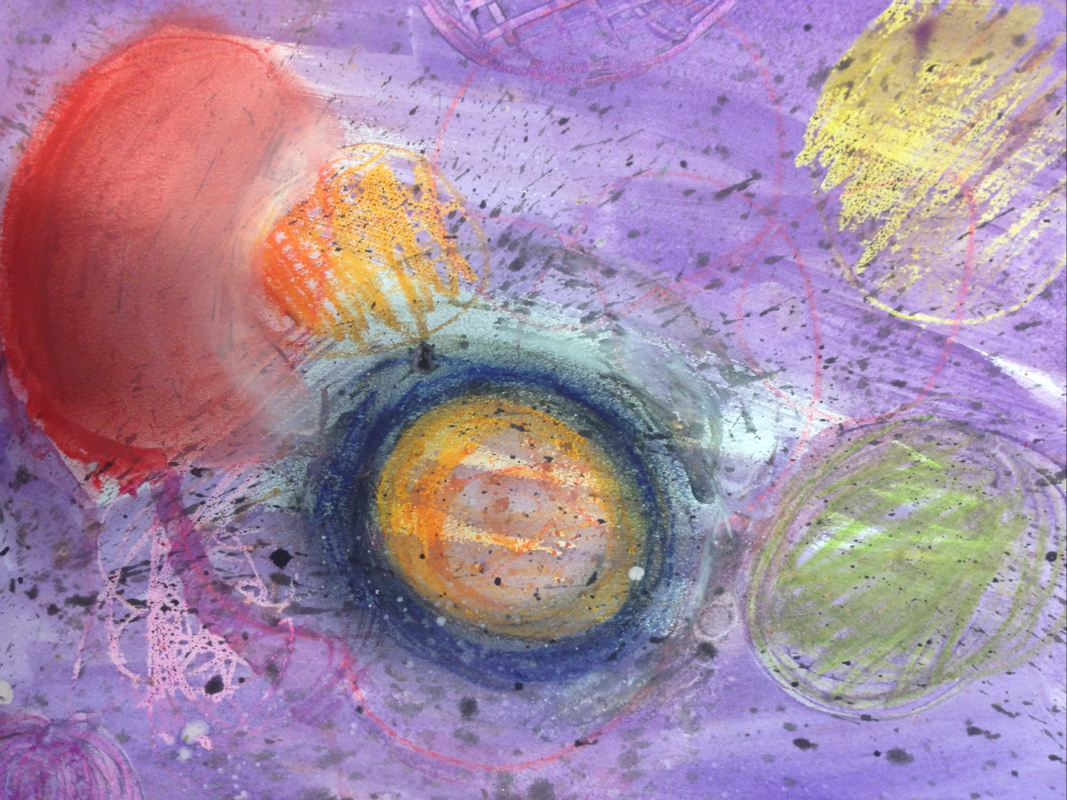
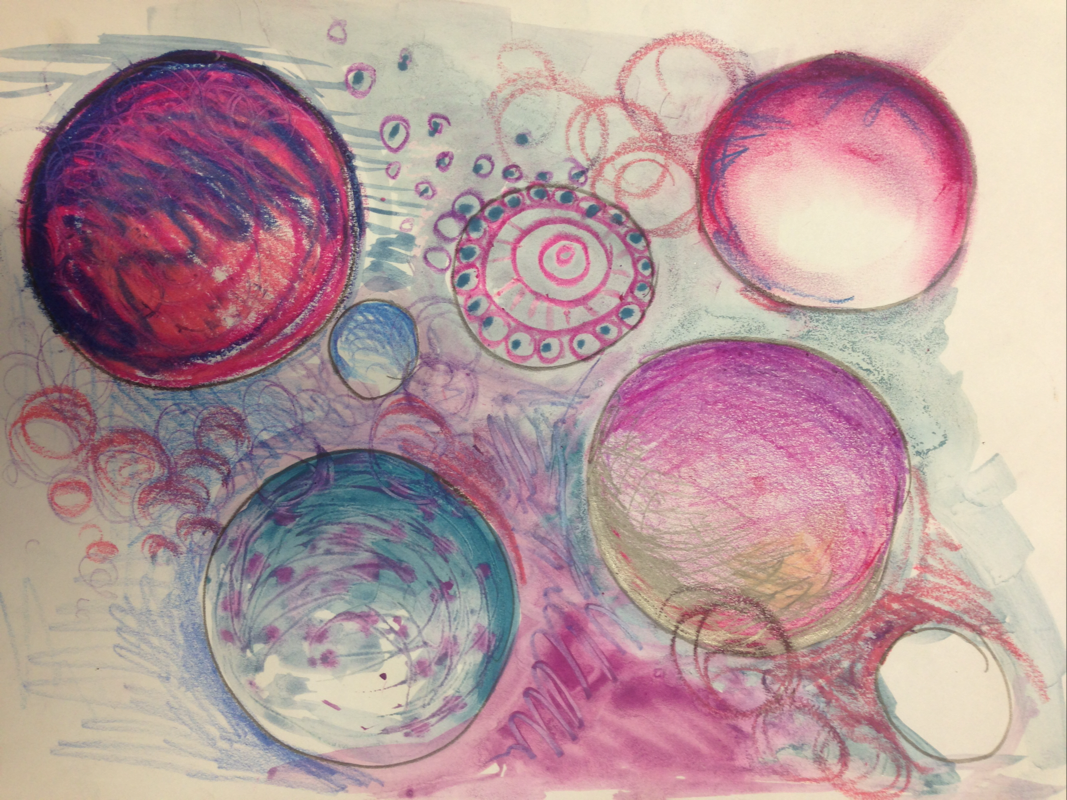
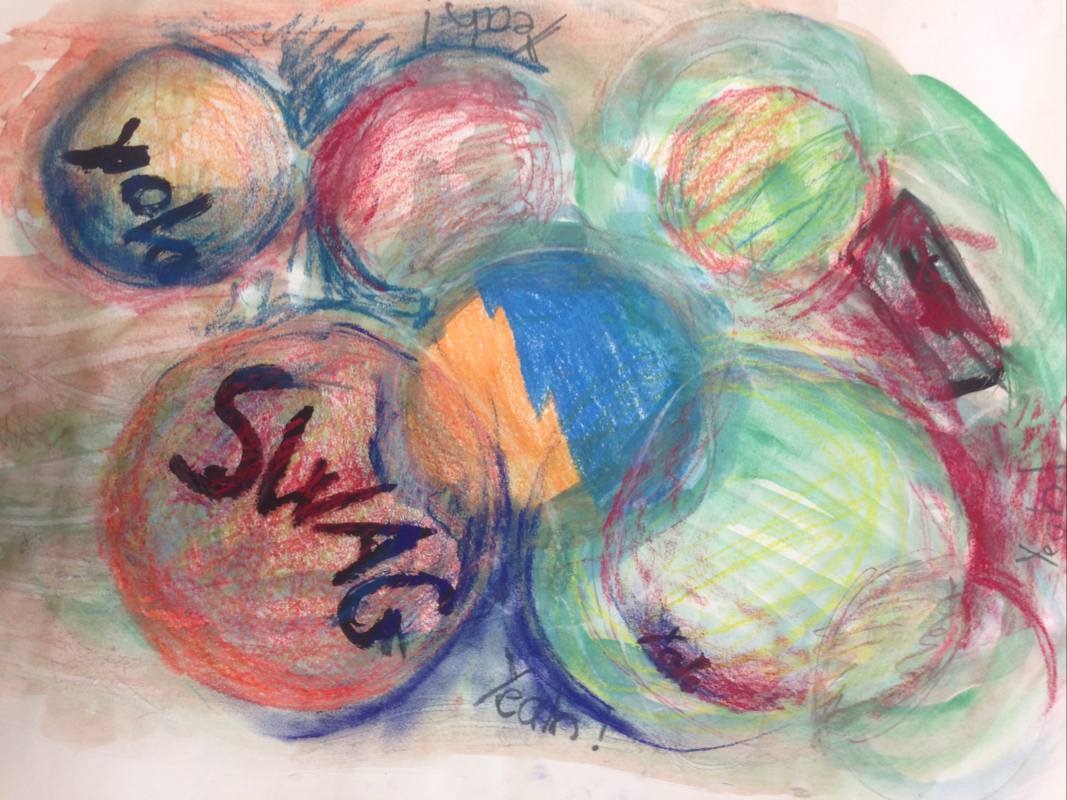
WALT: I can create a drawing using mixed media.
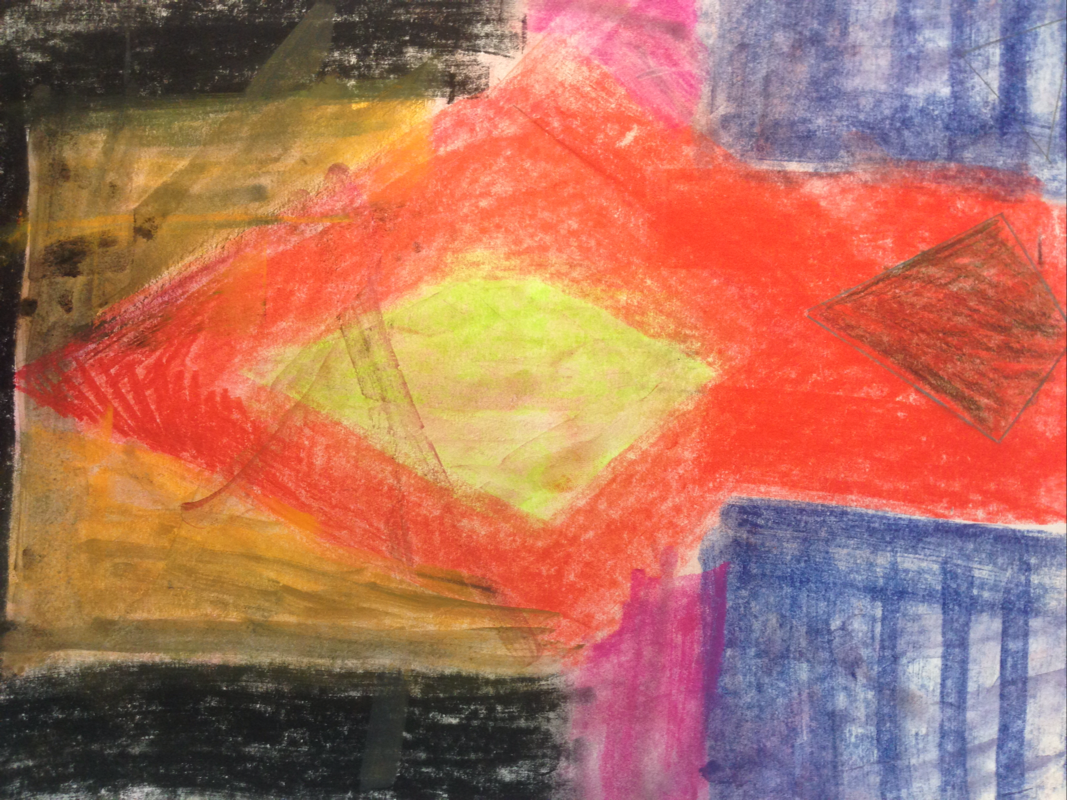
As an introduction to mixed media techniques we looked again at the artist JIM DINE. I had the pupils define mediums; techniques and tools, and explain the difference between the 3. We then looked at Jim Dine's Heart artworks and the pupils tried to identify what mediums Dine used. We also looked at ways to create a focal point, trying to see if detail, warm colours and techniques could make a part of the drawing the most eye-catching. This has turned out to be one of my favourite lessons so far. During plenary the kids told me that they really enjoyed working with the different mediums and letting loose in their sketchbooks.
This lesson worked well when the pupils were given some structure. So in an attempt to make my life a little easier I developed a way to get the best results from my pupils.
1. Have each table group hand out one of the mediums. Each table should have: oil pastels; chalk pastels; wax crayons; water colours; pencil crayons; pencils; and markers. 2. Have pupils draw at least 6 circles/hearts on their page. Each must be filled with one medium, and use one shading technique. 3. They must then layer another medium on top of these. This is about experimenting, being free and not worrying about "mistakes" or "prettiness". 4. Add backgrouns colour. Next, add texture and details by drawing in patterns; cross-hatching and stippling. 5. Finally, find a focal point. Add details and emphasize an area by using particular colours and dark lines. I was thrilled with the results! Once pupils had completed their water colour portraits and were familiar with the proportions of the face, we moved on to tonal pencil drawings. I decided to have the pupils only draw half the face, because they were focussed on making both sides of the face completely symmetrical, and this would help them move past that and look more closely at the formas and shapes of the facial features. This was far more successful than I had initially thought it would be, and I they completely surprised me with how well the did!!
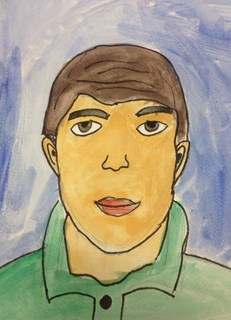
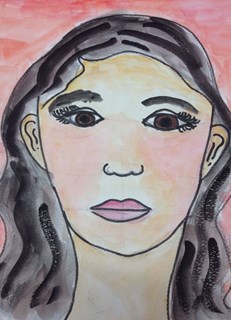
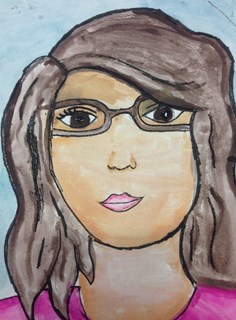
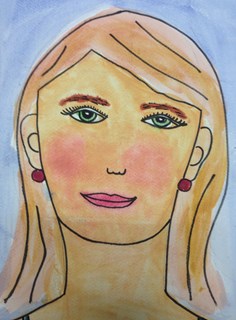
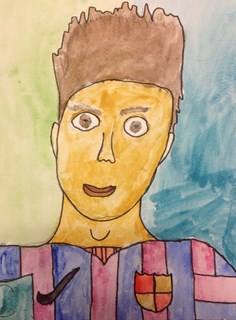
WALT: I can create a line contour self-portrait drawing and use water colour.
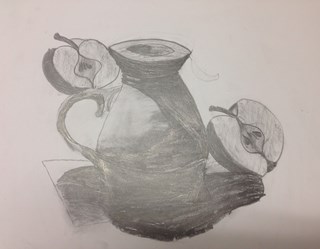
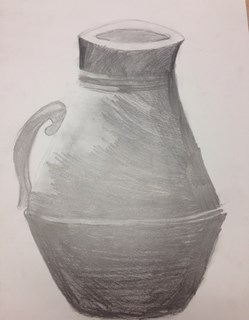
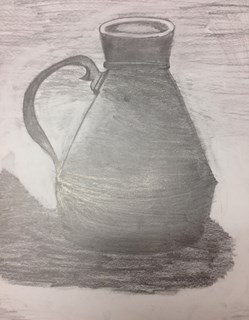
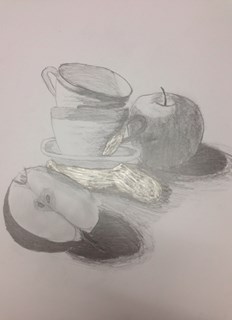
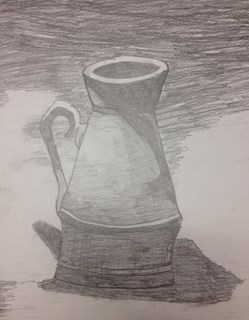
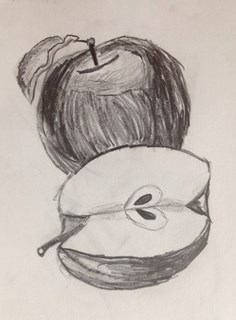
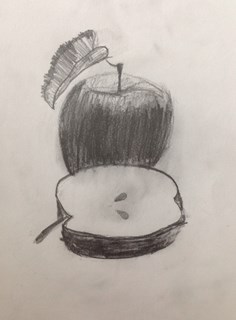
Discuss proportions of the face. Complete the proportions of the face worksheet. Do a practice portrait drawing in sketchbooks using a selfie taken with their own device (IPAD/phone). Hand out water colour paper (A3). Complete a light pencil sketch of the self-portrait. Paint in with water colours using tone in appropriate areas. Add marker lines when water colour is dry. PART 1: Learners will create value scales and learn about different types of shading. Hatching, cross-hatching; smudging; stippling and scumbling. PART 2: Pupils will be shown a video demonstration. Learners will then create 3-D forms using shading. PART 3: Learners will create a completed tonal drawing of an apple or a more complex still life object.. |

 RSS Feed
